Getting your kids to take proper care of their teeth is imperative. Despite the eventual fall out of their baby teeth, they are crucial in the development of your child’s oromuscular function, aid in biting, chewing, and speech, and serve as the guide for the proper growth of permanent teeth.
Still, it may be difficult for your kid to understand the importance of proper oral care. Good thing there are different ways you can teach him or her about the teeth, mouth, oral cavity, and how vital they are through easy, fun activities you can do together.
Fuel your creative juices and help your kid take better care of his or her teeth with these nine activities and projects.
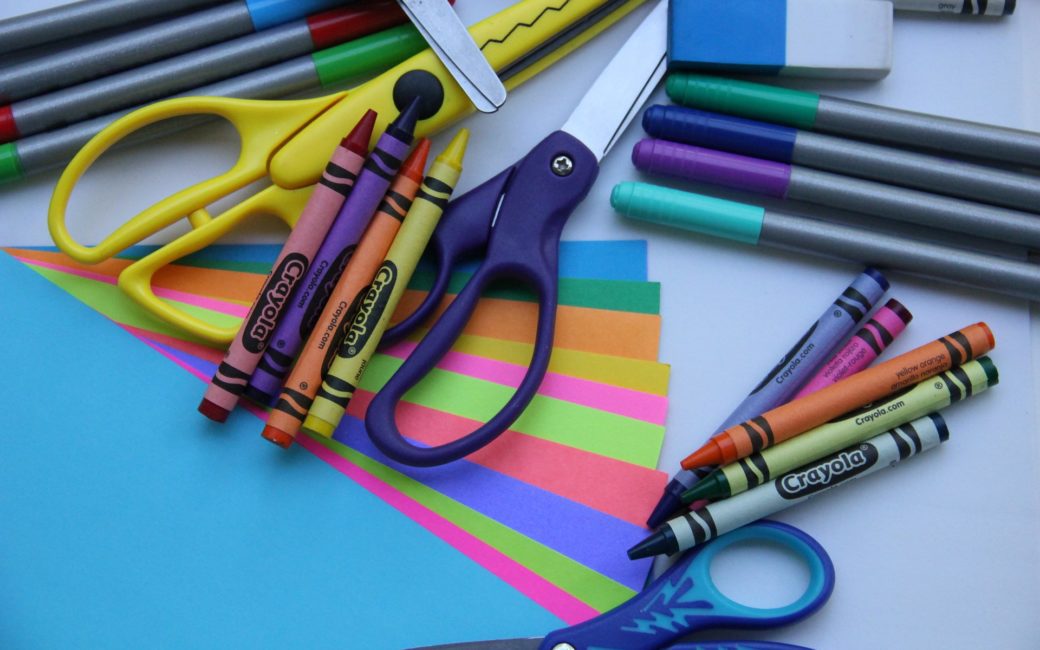
Dental Craft #1: Teach your kid dental health vocabulary!
The best way for your kid to understand dental health is by teaching him or her the words involved or related to it.
Create flashcards containing simple words like toothbrush, toothpaste, dentist, teeth, mouth, tongue, etc. and accompany them with pictures for a more visually appealing set of cards. You can play around with the flash cards by making them three-dimensional or color-coding them.
Making flashcards is simple. Open your laptop or computer and go to a word processor. Type down the words and match them with images. If you are feeling more creative and want to get your hands moving, you can use colored papers, cardboard, and some craft materials to create the cards.
The more colorful and exciting the cards, the better. Tip: There are printable available online you can use if you are short on time.
Dental Craft #2: Open your mouth!
Create a teeth model to help your kid be acquainted with oral hygiene practices like brushing and flossing. There are various ways to make the model. You can make the mouth using red paper or board. For the teeth, you can use either marshmallow, egg cartons, play dough, Styrofoam, etc.
Shape the red paper into an oval shape, then fold it into the half. Glue the “teeth” on the paper. You can attach the mouth on an animal or human-shaped cardboard for a more fun learning activity. You can also add a tongue.
Put used papers between the teeth to resemble food lodged between teeth. Then using a string, teach your kid to floss them away or with a toothbrush.
Dental Craft #3: Toothbrush appreciation!
Get your kid familiar with a toothbrush by making a replica! Let him or her recreate a toothbrush on a paper, glue the parts together, and put his or her name on the handle part. You can even add a toothpaste-like part using cotton.
Dental Craft #4: Get your kid to brush for two minutes!
Brushing teeth is recommended for two minutes, but it may be difficult to monitor the time. Looking at the clock now and then seems to be a boring option. While smartphone apps may be helpful, you may not want to subject them to the danger of falling on your bathroom sink or worse, toilet bowl.
Ensure that your kid gets a two-minute brush using a super pretty toothbrush timer that involves no electricity — just your creativity.
To make the toothbrush timer, you will need a small tube of glitter glue (about 10 ml), a teaspoon of fine glitter, a small jar, and water. First, fill three-fourths of the jar with water. Then, add the whole tube of glitter glue and a teaspoon of fine glitter. Finish it off by capping the jar and shaking it for the contents to mix.
The time the glitters fully settle on the base of the jar marks the total duration of the toothbrush timer, so trial-and-error the procedure until you come up with a two-minute toothbrush timer.
You can glue the lid to the jar to prevent your little one from opening it.
Dental Craft #5: Order them!
Your computer or laptop and printer will be your best buddy and this next fun activity. Create cards which show the process of brushing your teeth. Let your kid order them in the right sequence.
Through this activity, your kid can get familiar with the hows of brushing his or her teeth.
Dental Craft #6: The Good and the Bad!
Aside from brushing and flossing, make sure your kids also understand the role of food on oral health. Teach your kid what foods are good or bad for the teeth by doing a simple sorting activity.
Print a photo of “happy tooth” and “sad tooth” on two separate papers. Make sure the teeth are big enough to be filled. If not, you can simply allot white space around the teeth for the activity.
Then, print out foods that are good and bad for the teeth. Cut them into small sizes. Afterward, let the sorting begins!
When your kid picks on food, ask him or her why he or she thinks the food is good or bad for the teeth. Explain to your kid the rationale why the food is sorted that way so he or she can understand better and justify his or her food choices.
Dental Craft #7: Dual benefit!
Learn shape while learning about oral health in this activity! Print out a tooth on a whole page of paper then laminate it. Use a dry erase marker to draw different shapes onto the tooth. These shapes will then serve as cavities that your kid will need to brush away using a toothbrush!
The marker may be difficult to erase using a toothbrush which works well since cavities are also difficult to remove unless you undergo a dental procedure. This will teach your kid the importance of taking proper care of his or her teeth to prevent cavities from damaging them.
Dental Craft #8: Get more in-depth on the teeth!
Knowing good dental habits is good but step that up a bit higher by helping your kid know more about his or her tooth. Teach him or her about the parts of a tooth.
Cut out the different parts of a tooth such as the enamel, dentin, pulp, and gums. Use yarn for the tooth root. Also, print out the corresponding words and let your kid identify each part.
Make sure to explain the role of each part and the proper ways to care for each to your kid.
Dental Craft #9: Transform into a dentist!
Dental visits are imperative for the maintenance of oral health. We can give our teeth the clean it deserves through teeth cleaning and get to see dental issues and address them as soon as possible.
But we cannot deny that we get that shiver down our spine when thinking about sitting on a dental chair. What more our kids, right?
Lessen the fear of your kid by introducing him or her to the dental instruments he or she will see in a dental office. By getting familiar with them, your kid can become comfortable and panic less when sitting in a dental chair.
This dental project is a bit more tedious as it involves a lot of stuff. But the result will definitely be worth it.
First, research on the standard dental tools that you want to include in your dental box. Then, start the project by making the box where you will put all the dental instruments. You can use a cereal box, a cake box, or a shoe box for it. Use whatever box you have at home and twitch it a bit to look like a bag. Decorate it with some dental related images or stickers.
Next, make the dental tools. You can include forceps, sickle probe, toothbrush, floss, and a dental mirror. For the forceps, use a clothespin and glue poster boards on the sides. For a sickle probe, you can use a bit of sparkle stem, attach it to a popsicle, then curve it into a hook.
Grab another popsicle for a toothbrush handle and glue a bit of Styrofoam for the bristles. A dental mirror will use a sparkly stem as a handle and a round-shaped board for the mirror. Attach the two.
You can add more items and use whatever materials available. You can use the teeth model you created on one of the activities listed here as your patient.